
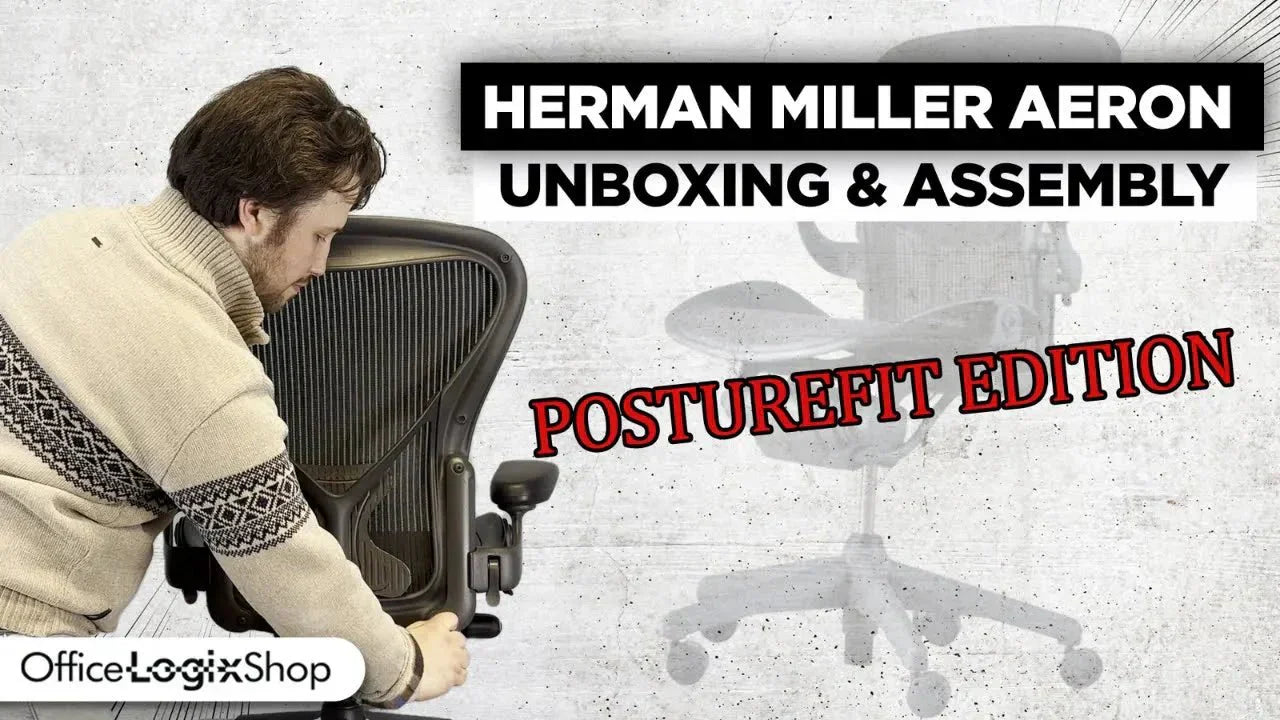
Welcome to this Herman Miller Aeron Classic PostureFit unboxing, assembly, and setup guide. This tutorial walks you through each step to get your chair fully ready for use.
1. Unboxing the Aeron Chair
Included in the Box
- Fully assembled seat and base
- Separate backrest
- Casters
- PostureFit lumbar system
2. Installing the Casters
- Flip the chair upside down.
- Insert each caster into its socket until it clicks firmly in place.
- Flip the chair back upright.
3. Attaching the Backrest
- Remove the four screws from the chair frame.
- Align the backrest with the holes.
- Insert and tighten all four screws securely.
If the backrest does not align properly, continue to section 6 for troubleshooting tips.
4. Installing the PostureFit Lumbar Support
Model A
- Insert the PostureFit cable into the support box.
- Remove the middle screw below the box.
- Create a small opening above that screw in the back mesh.
- Slide the cable through the mesh opening.
- Mount the central bracket and tighten it.
- Insert the cable end into the PostureFit and secure it.
- Push the unit up the back rail and then slide it down to lock.
- Tighten all screws once it is fully in place.
Model B
You might have received the B clip version of the PostureFit cable. This model looks a little different, but installing it is simple.
- Prepare the cable by turning the knob until the cable extends to its maximum length.
- At the bottom of the back mesh, right in the middle, make a small opening and slide the cable through.
- Check that the bracket is centered on the frame and sitting straight.
- Push it upward until it hooks securely in place.
- Extend the cable and insert it into the PostureFit.
- Secure the PostureFit in its place by pushing it up on the rail, then sliding it down.
- Make sure to tighten all screws to ensure everything is secure.
5. Calibrating the Cylinder
Issue
If the chair sinks or rises automatically when you sit or stand, the pin inside the cylinder needs adjustment.
- Remove the plastic cover at the base of the cylinder.
- Locate the pin inside.
- Use an Allen key to adjust the pin in quarter turns.
- Turn clockwise if the chair sinks.
- Turn counterclockwise if the chair rises too easily.
- Test the chair after each turn to find the correct balance.
- Once fixed, replace the cover.
6. Troubleshooting Backrest Fit
Step 1: Verify the Chair Size
- One Braille dot equals Size A
- Two Braille dots equals Size B
- Three Braille dots equals Size C
Step 2: Check the Yoke
- Look for a gap between the metal yoke and the plastic bushing.
- If there is separation, use one of the following methods:
Method 1: Manual Pressure
Use both hands to push the parts together.
Method 2: Rubber Mallet
Tap gently until the gap closes.
Method 3: Diagonal Bolt Trick
- Insert one back bolt into a corner and tighten it.
- Move to the opposite corner and align the hole.
- Insert and tighten the bolt to bring both sides together.
- Install the remaining two bolts afterward.
Final Steps
Your Herman Miller Aeron Classic with PostureFit is now fully assembled and calibrated. If your chair includes PostureFit, confirm whether you have Model A or Model B above and follow the appropriate steps. Thank you for choosing OfficeLogixShop. If you need additional help, we are here to assist you.